
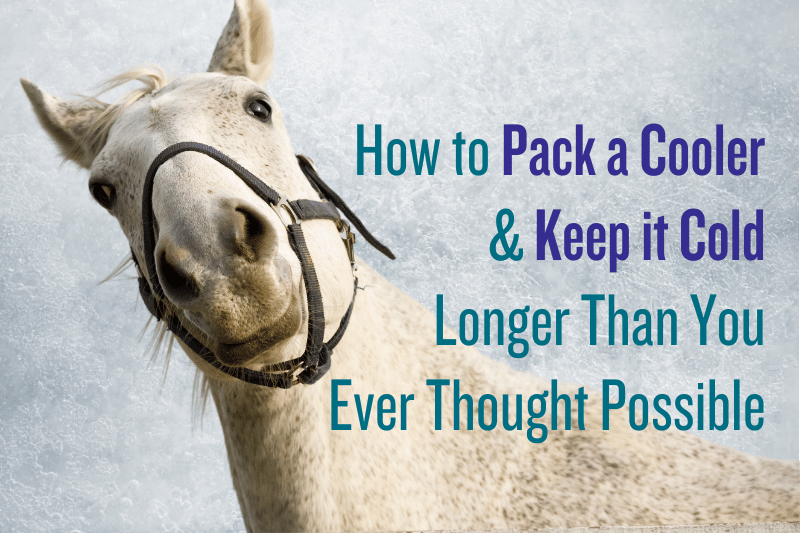
Most endurance riders — even many with refrigerators in their LQs — bring coolers to rides. For most one or two night stays, it’s pretty easy to keep your food cold. But what about pioneer rides or other, long journeys? These cooler management tips will keep your ice frozen longer than you ever thought possible.
How do I know?
I’ve had the great fortune to float the Colorado River all the way through the Grand Canyon twice. Rowing a raft down the Colorado takes about three weeks. Daytime temperatures get up to 110 degrees Fahrenheit, and the nights remain sweltering. A raft full of gear spends most of the day in full sun. And yet, my group managed to eat fresh food right up until the last five days or so of each trip.
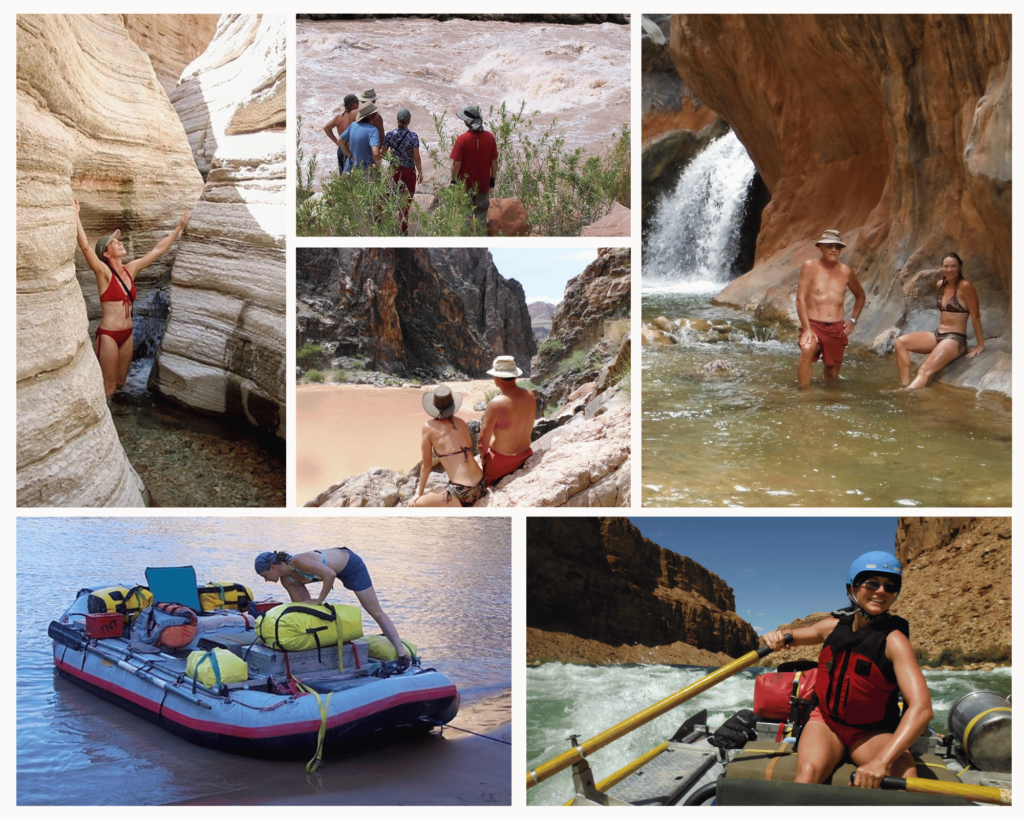
If we can keep coolers cold for two weeks at the bottom of the Grand Canyon in August, you can definitely do the same in ride camp. Here’s how:
Use a Decent Quality Cooler
If you can get your hands on a Yeti, ORCA, RTIC, or Engel, you’ll be ahead of the game. However, high quality coolers are expensive. You can spend much less on a mid-quality, hard-sided cooler, apply the other tips below, and still make out pretty darn well.
Regardless of brand, look for a tight-fitting lid with robust latches – not just the plastic snap-shut kind. You’ll also want a drain plug, preferably a screw-in type, with a leash attaching it to the chest. Finally, you’ll want a cooler that’s appropriately sized so you don’t have a lot of extra air space left after adding your ice and food.
Make Your Own Ice
Have you noticed that store-bought ice ain’t what it used to be? Not only are the blocks smaller (and you definitely want blocks, not cubes!), but they aren’t even solid. These days, they make them out of compressed ice shavings, which results in a product that is less dense and melts much more quickly than “real” ice.
Fortunately, you can solve this problem by making your own ice. It only takes one ingredient!
If you’re lucky enough to have access to a mostly-empty chest freezer or even a walk-in, you can freeze ice directly into your cooler. Simply place your cooler inside the freezer and add about one inch of water per day until it reaches the desired thickness. (If you add all the water at once, you’ll tend to get air pockets that encourage melting later. It’ll also take just about forever to freeze.)
If you don’t have a freezer big enough to hold your entire cooler, you can use plastic dish tubs to make ice blocks inside a smaller freezer. Use the same process of adding about an inch of water per day until the tubs are full. It’s usually easy to get the ice out of the tub simply by inverting it, but you can dip the tub in a sink full of hot water if necessary.
Some people freeze water in milk jugs, then put those in their coolers. Doing this means you won’t need to drain melted ice from your cooler; you can drink it instead! However, doing so will replace cold water with warm air inside your cooler, contributing to faster melting overall. Fine for a short trip…not ideal for a long one.
Put Enough Ice in the Chest
Regardless of the source of your ice, be sure you have enough of it. Ideally, your cooler should be 2/3 full of ice at the beginning of your trip. You can get away with half-full in a high quality cooler, chilly weather, or for fewer days.
The volume of ice you’ll need is an important consideration when choosing what size cooler to use for a particular excursion. I take a very small cooler for weekend trips, so I can get the ratio right without using a ton of ice.
Pack Your Cooler Correctly
When packing your cooler, always place meats directly on the ice. Uncooked poultry and seafood are the most prone to spoilage, so keep them as cold as possible and plan to use them early in the trip.
Dairy products should go in next. Ideally, they will also be in contact with the ice.
More delicate items, like produce, should ride on top of the meat and dairy products. They’re less prone to spoilage at higher temperatures, and freezing their cells against the ice may reduce them to inedible mush.
You can also freeze many pre-made meals, like chili or spaghetti sauce, at home to keep the temperature of your cooler low. Ziplock bags work better than Tupperware for freezing the food in shapes that aren’t too bulky inside your cooler. Always double-bag, because they will leak.
Speaking of leakage, make sure everything (especially meat) is well wrapped in something more robust than its grocery store packaging. Leaked meat juice in your ice melt is a serious contaminant that can easily ruin everything else in the cooler.
Add a Thermal Barrier
If you’ve chosen the right size cooler, it’ll be quite full by the time you’re done adding ice and food. However, as the ice melts and food gets eaten, more and more air space will accumulate, exposing the remaining contents to higher temperatures.
You can reduce this problem by placing an insulating layer inside the cooler, on top of the food. Industial strength bubble wrap is great for this, or you can cut an old-school foam sleeping pad to size. The idea is to create an inner “lid” that holds more of the ice-chilled air around your food.

Have a Separate Cooler for Drinks
The single, most devastating impact on your ice comes from the warm air that rushes in every time you open the cooler. If you’ll be digging for cold drinks multiple times per day, consider putting them in a separate cooler from your food.
Take Advantage of Shade
This may seem obvious, but you’d be amazed how often it gets ignored. Put your cooler in the shade! Ideally, it’ll be shaded all day. If you have to choose, though, go for shelter from the afternoon sun.
Latch the Lid Securely
Always keep your cooler lid latched and the drain plug screwed in. If your cooler doesn’t have good latches, you can use a pair of cam straps to cinch down the lid, minimizing air exchange.
Leverage Evaporative Cooling
Go to a thrift store and grab yourself a couple white bath towels. Lay them over the lid of your cooler in camp, and pour water over them periodically to keep them damp. The evaporative cooling effect that results will make a dramatic difference to the longevity of your ice.
If you want to get fancy, find yourself a canvas bucket. Filled with water and set atop your cooler, it’ll leak slowly onto the towels and keep them wet for hours.
Drain (or Don't) Conscientiously
Ah, the perpetual question! Is it better to drain melted ice from your cooler, or leave the chilly water in there?
The argument for the latter is that more cold mass in the cooler (even if it’s water instead of ice) is preferable to more air. However, you definitely don’t want your food swimming in ice melt. It’s unsanitary.
In situations when my cooler will get sloshed around (like whitewater rafting), I drain it daily. It’s best to do this early in the morning, when the air temperature is as low as possible.
When my cooler will be sitting still (like in ride camp), I typically don’t drain it unless my ice is getting so thin that my food is in danger of sitting in the swill.
So there you have it! Follow these tips to maximize the number of days your cooler stays cold. May your meals always be as fresh as your horse!
Check out more posts in the Ride Camp Ready series:
1. How to Assemble a Kickass Ride Camp Sleeping Quarters
2. How to Assemble a Kickass Ride Camp Kitchen

You might also like

This post includes affiliate links, and I may earn a small commission (at no extra cost to you) when you purchase through these links. I only recommend products and services I think are helpful and useful. Thanks for helping me offset the cost of maintaining this blog as a free resource!